You don’t always need to come out to a public course if you wish to play or practice the game of Stones. Some of the best courses are made in backyards. Whether you have a two acre wooded lot, a small city lawn, or somewhere in between, the principles of building a course are the same. If you follow a few key steps and have some imagination, you will be able to hone your skills at home.
Let’s first address what you’ll need:
- Stones—Self-explanatory. It would be difficult to play without them.
- Rake—Whether you’re working with grass, dirt, woods, beach, or any combination of the above, you’ll need to clean up the area.
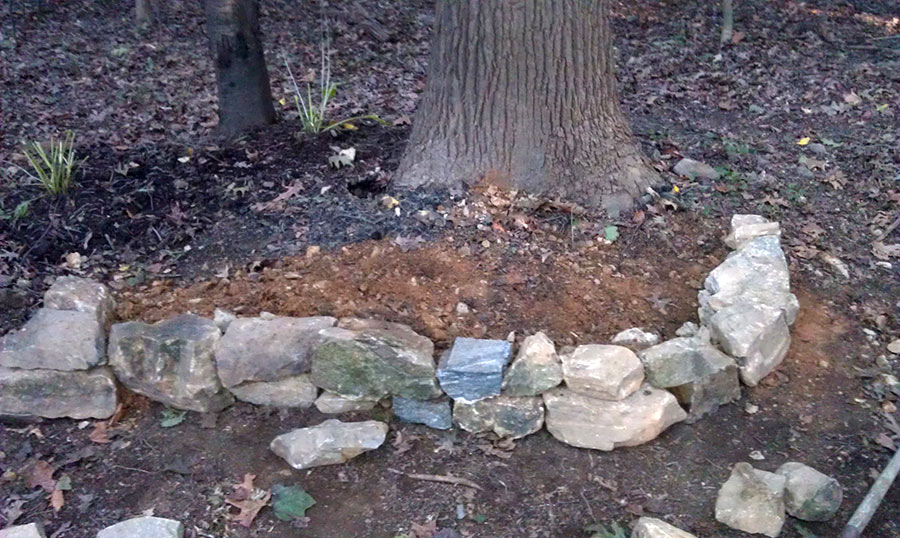
- Borders—Every stretch will need to have borders. What you decide to make them out of is entirely up to you. Most borders are made with natural materials: logs, branches, trees, or rocks, but if you don’t have any of these available, be creative. People have used water, marking paint, dug trenches, or simply raked the leaves to the side and used them to indicate the boundary. No matter what material you choose, it’s imperative to make sure you can identify if a stone is in or out.
We have our items ready, so now let’s go build a course. An official Stones course has five stretches and one x-hole. This doesn’t mean your home course has to be the same. If you’re pressed for space, it would be better to make two or three well-designed stretches than to squeeze in five that were poorly-planned. One backyard Stones course in Mount Airy has three stretches—you just play stretches one, two, and three first, and then play three and two backwards. The key is to be creative and use what the land gives you.
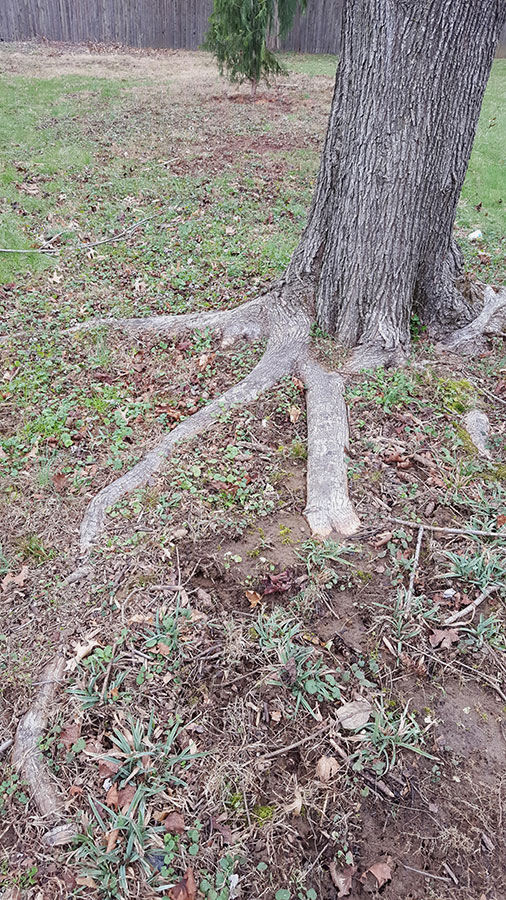
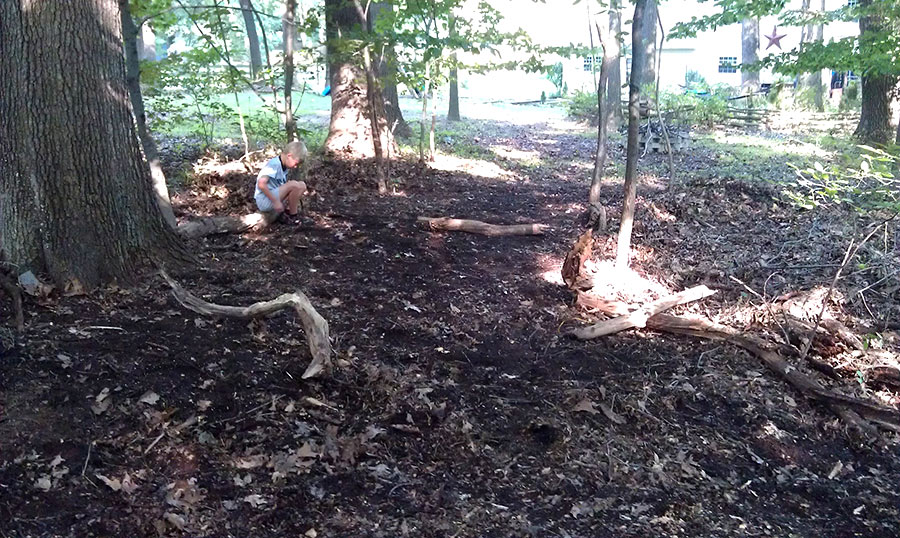
Planning your course layout is typically the most difficult step. Walk your entire area and pick out certain features that you would like to include. The things you’re looking for are elevation changes, clusters or lines of trees, tree roots, fallen trees, natural depressions, flower beds, rocks, or anything that would make an interesting field of play. If your area is lacking interest, don’t be afraid to make your own. A simple rock wall or a cluster of branches can lead to interesting areas, even on the flattest surfaces.
Once you have your Points of Interest or (POI) identified, you can began laying out your course. Pick which POIs will be landings and work backwards. Remember, what makes a good Stones course is diversity. To achieve diversity, use length and width and POIs to make sure each stretch differs from the next. Add your borders and you are ready to go.
The last step is the most fun. Play your backyard Stones course. No layout is perfect right away. Try different things, and if you find it’s too difficult to establish a stone in some areas or if stretches are always played the same way, don’t be afraid to change it up. You’ll be surprised how changing the location of a border, or adding a log, will change how a course is played.
Good luck, and feel free to contact us with questions about building your Stones course. We’ll be glad to help!